Saturday 25 March 2017

March 2017

MOKULITO
Mokulito is lithography on wood instead of stone - it was discovered by Prof Seishi Ozaku in Japan over 30 years ago.It combines both lithographic and woodcut marks and doesnt need any strong acids or solvents unlike traditional lithography. There are lots of good u tube videos on line about the process including several by the  polish artist Ewa Budka from East London Printmakers who has been researching the process for several years.
My colleague Nina has been experimenting with the process a bit too and has achieved some interesting resukts so I thought it was time I had a go too.
So using a piece of plywood I:
1. Sanded the plywood down
2. Nina had found lithographic ink and crayon worked better than watery tusche -The plywood was drawn on and I also gouged into it to create white marks
3. The drawing was left to dry and rest for a few hours and then chalked and gummed and left
overnight
4. The gum was then washed off with water and the wood kept damp using damping cloths
5.. A  really runny ink (50% litho ink :50% plate oil) was rolled onto the damp plate very quickly.
(a foam disposable decorating roller was used rather than a traditional glazed roller)
6.. The plate was dried and then a thin piece of slightly dampened Japanese  /Hahnemuhle paper was placed over the plate and then the whole lot run through the etching press.
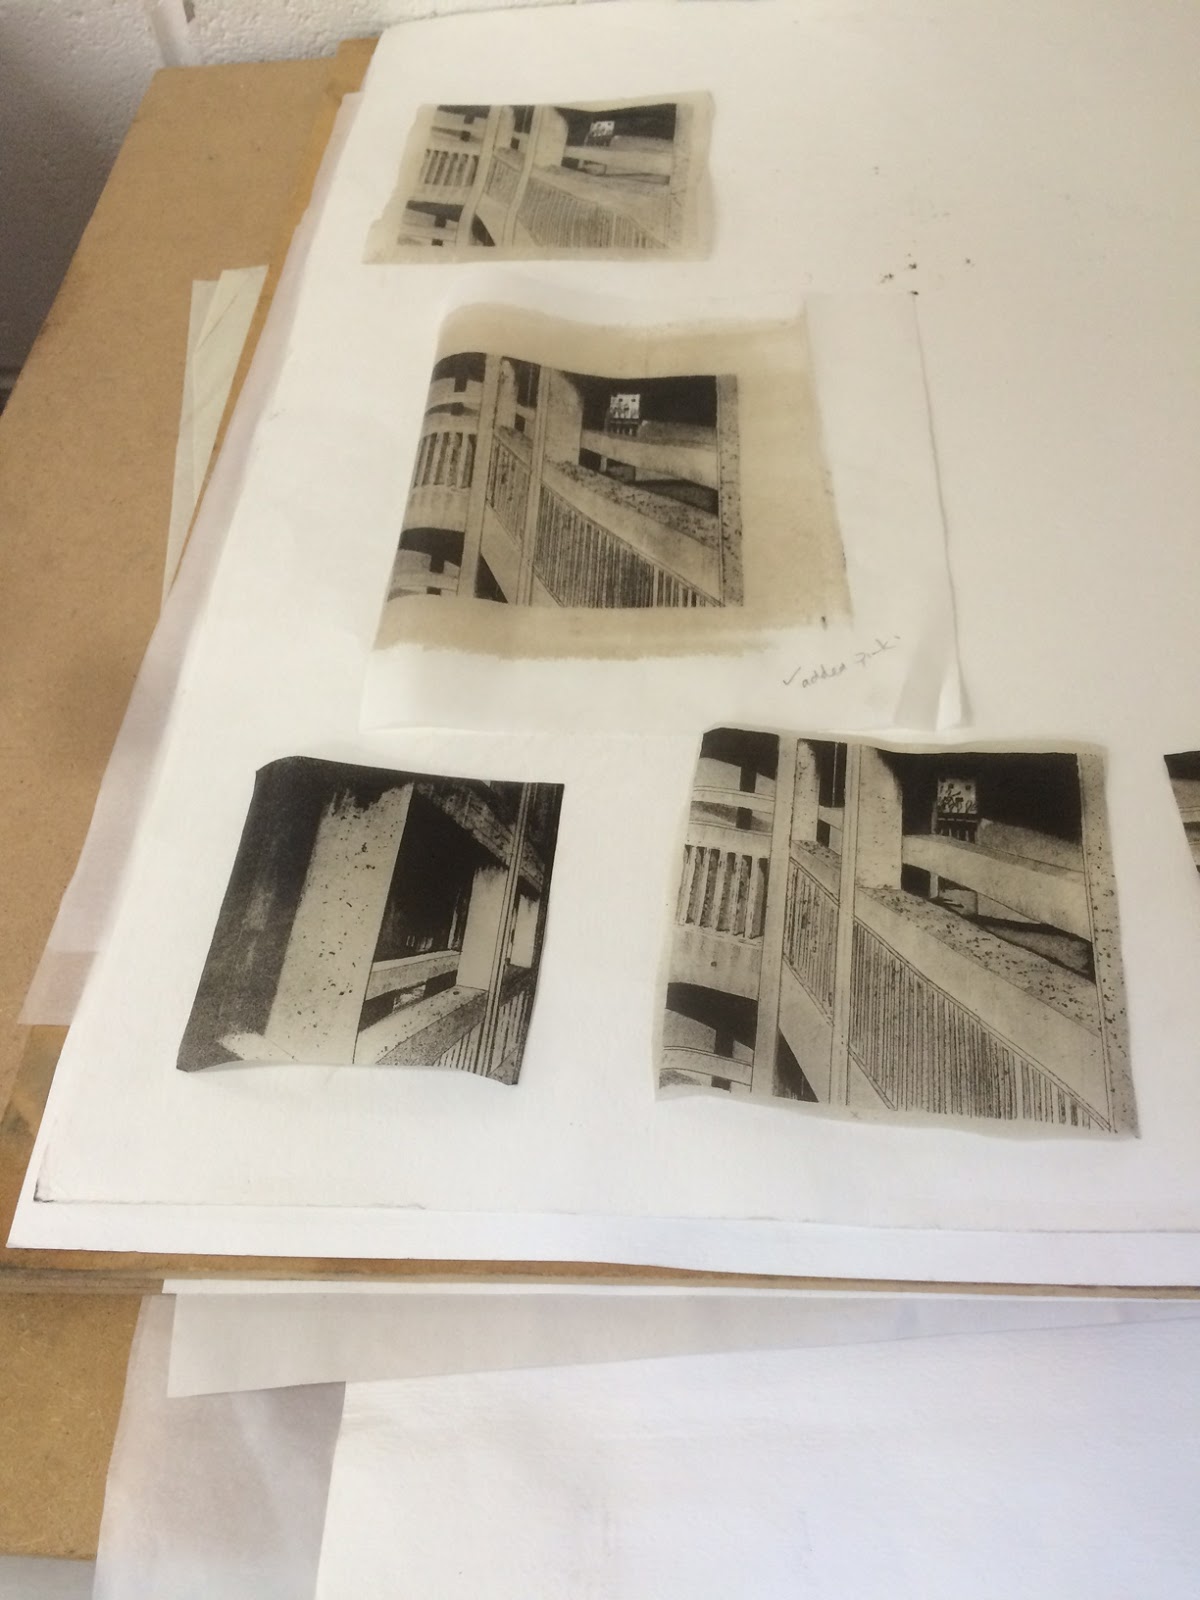
8. In total about 6-8 proofs (of variable quality !) were produced before the plate became too messy / unusable.

I liked the way the wooden grain was picked up and the marks that the lithographic ink produced and it was a much quicker, freer, experimental/ (but also inconsistent !) process compared to traditional stone lithography and best still - no graining! However I think I prefer the detail and more reliable marks achievable with stone (although maybe I just need more practice?)

Heres my plate (I had visited the Robin Hood Gardens Estate in Poplar recently which was my inspiration)


And the subsequent print:


January /February /March 2017
Over the past few months I have been trying to edition stones prior to finally getting rid of the images by graining. This is 'Stripped Bare',  I printed off 10 proofs onto Japanese Kozo paper then block printed a gold- green coloured transparent ink (containing plenty of extender). The ink was rolled on to a pre cut photo -lithoplate and then placed on to each proof and rolled through the etching press to transfer the ink to the paper.
Here is a finished test print: (for the final edition I went for a slightly greener block print)


I then decided to crop the image and then using the starch paste that is described in my 4/3/16 blog post I stuck the prints onto individual concrete tiles that I had made earlier. The prints were protected with several coats of archival uv resistant varnish. I am hoping to have an edition of 8. Here is the finished piece framed


I also proofed an edition of 10 of my Faded Glory print on to Kozo paper and on a slightly smaller concrete tile using the same starch paste method. Here is one of the finished framed prints:


Finally, having my editioning head on I aimed to try and get an edition of 8 of the Liminal Zone print on Somerset Newsprint paper. This proved to be quite a challenge as the stone hadnt been opened for a while and the first proofs taken were quite pale and blotchy. To try and remedy this a layer of asthphaltum was rubbed over the stone and then the stone rolled with a thin layer of noir a monter ink and 10 proofs taken.


The proofs were printed on to Somerset newsprint paper. Once the ink was dry the paper was dampened and a blockprint similar to the Stripped Back proof was added. A piece of photo lithoplate was cut to the image size and a thin translucent ink (with lots of extender) mixed


This was rolled on to the photolithoplate and then the plate placed over the dampened image and the whole lot run through the etching press. Here is the finished proof.


I also started a couple of new stones: 

Here they are finished:


The first stone I printed 10 proofs onto Japanese paper and once the ink had dried I blockprinted a thin layer of transulucent ink rolled on to a photolithoplate . Allowing for some mistakes I made an edition of 8 - here they are drying. I plan to collage them on concrete as before.


For the second stone I made 10 proofs printing again onto Japanese paper. I then cut multiple small pieces of varnished card to fit the different areas of colour on the print. Using lots of extender I rolled 9 different coloured inks onto the apprpropriate piece of card and then placed them on the print and ran it through an etching press, Here is one of the finished proofs collaged on to concrete and framed: